Types of Hibiscus
Hibiscus plants belong to the genus Hibiscus, which includes hundreds of species and varieties. They are known for their large, colorful flowers and are found in tropical, subtropical, and temperate regions. Here are the main types of hibiscus:
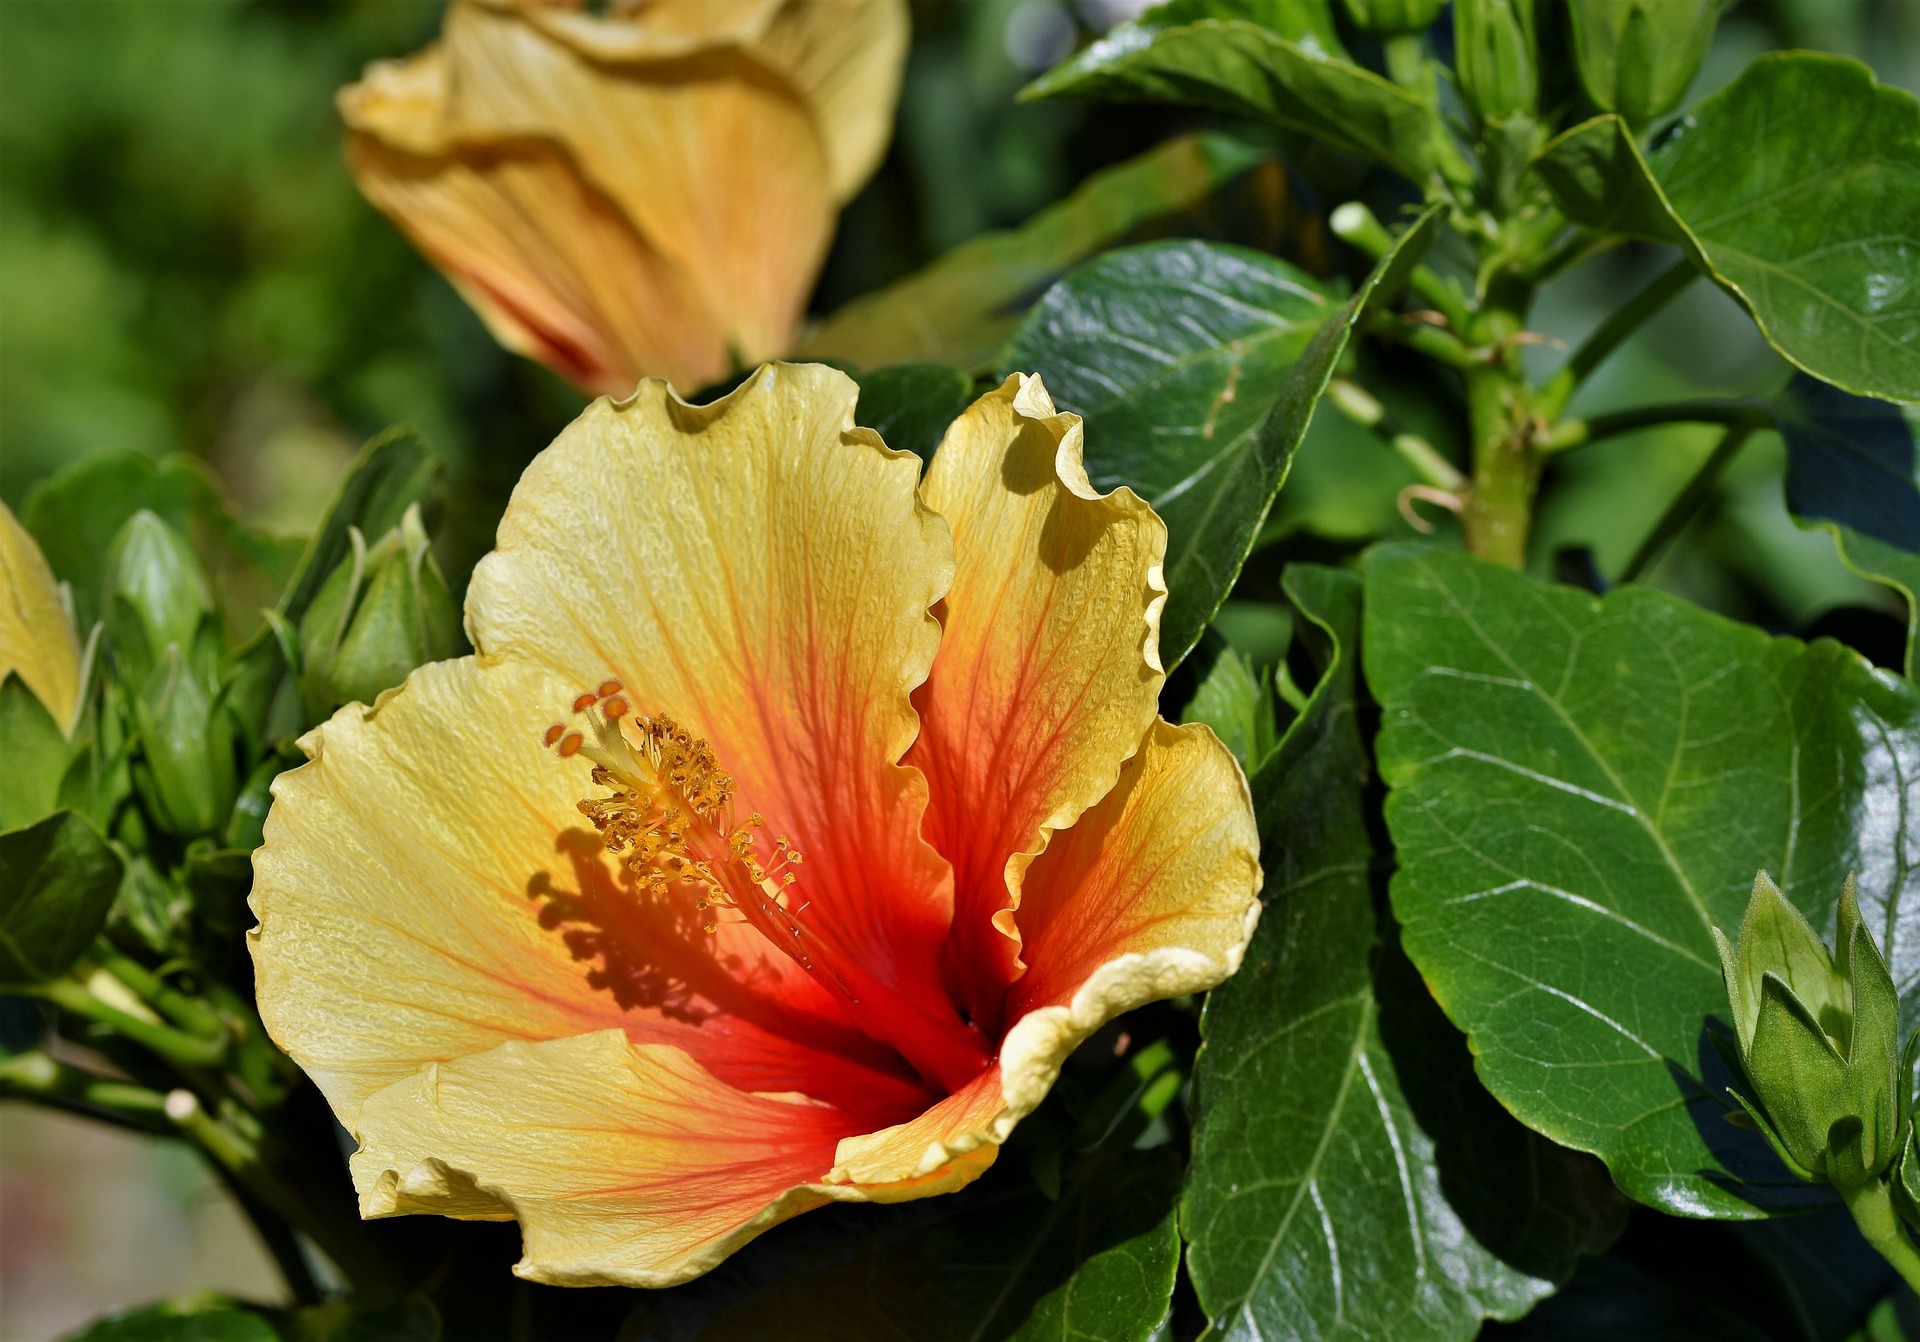
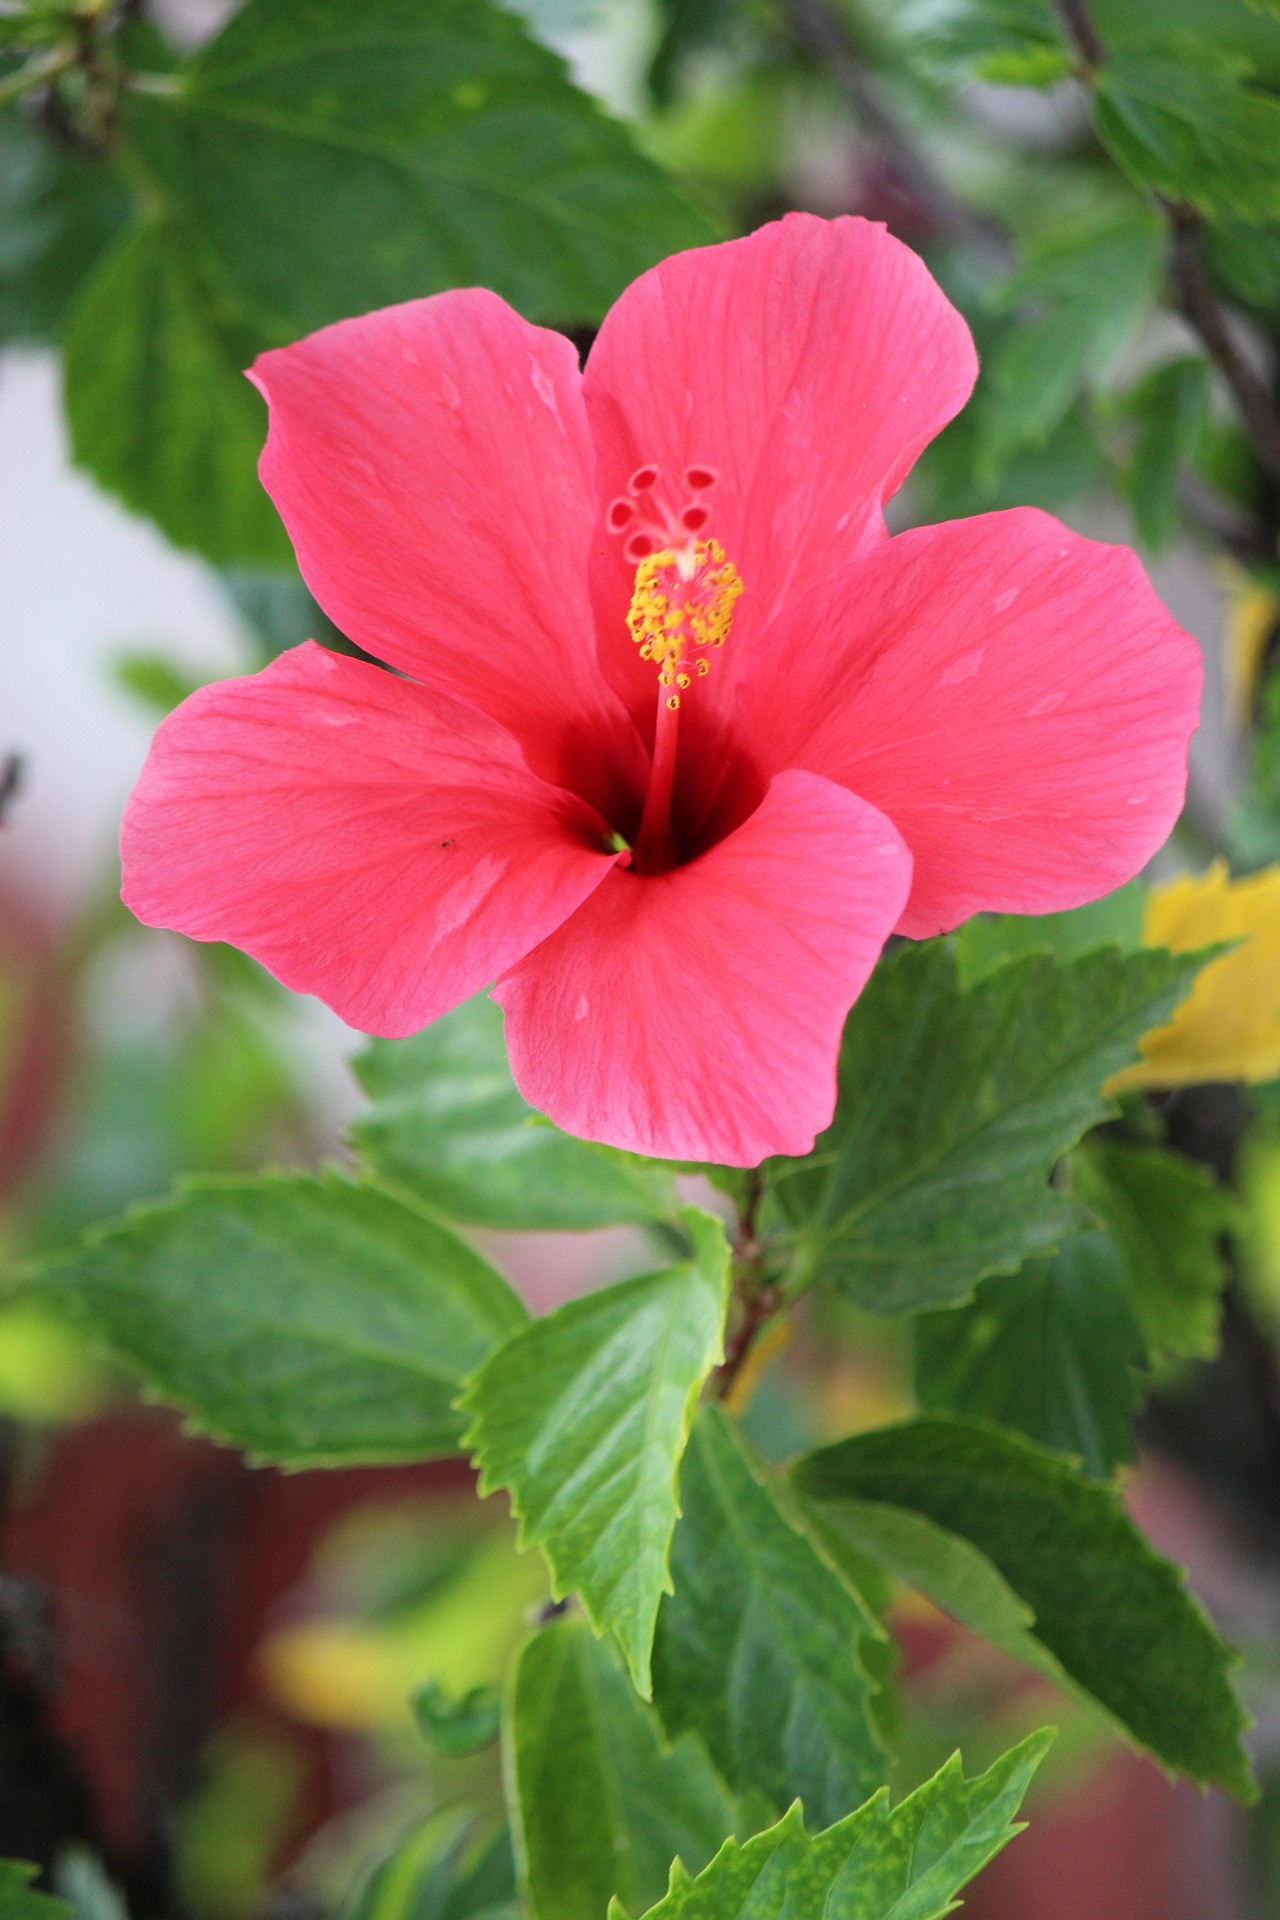
1. Tropical Hibiscus (Hibiscus rosa-sinensis)
- Native to Asia.
- Evergreen shrub.
- Large, brightly colored flowers (red, yellow, orange, pink, white, or multicolored).
- Grown as an ornamental plant in warm climates or as a container plant in cooler areas.
2. Hardy Hibiscus (Hibiscus moscheutos, H. laevis, H. coccineus)
- Native to North America.
- Perennial; dies back in winter but returns in spring.
- Large flowers, often up to 12 inches across.
- Tolerates colder climates (USDA zones 4–9).
- Includes cultivars like Rose Mallow and Swamp Hibiscus.
3. Rose of Sharon (Hibiscus syriacus)
- Deciduous shrub or small tree.
- Tolerates colder climates (hardy in zones 5–9).
- Smaller flowers than tropical types.
- Often used as a hedge or ornamental plant.
4. Hibiscus sabdariffa (Roselle)
- Known for edible calyces used in teas, jams, and herbal medicine.
- Grown in tropical and subtropical climates.
- Deep red calyces; tart flavor.
- Sometimes called “sour tea” or “Jamaica” in beverages.
5. Hibiscus acetosella (Red Leaf Hibiscus)
- Grown for its striking burgundy-red foliage.
- Flowers are small, red, and not as showy.
- Often used as a decorative foliage plant.
6. Hibiscus mutabilis (Confederate Rose)
- Large, double or single flowers that change color (white → pink → red) over the day.
- Deciduous shrub or small tree.
- Grows well in warm climates.
What zones can I grow in
Hibiscus Growing Zones:
| Type of Hibiscus | USDA Zones | Notes |
|---|---|---|
| Tropical Hibiscus (H. rosa-sinensis) | Zones 9–11 | Can’t tolerate frost; grow in containers in colder zones. |
| Hardy Hibiscus (H. moscheutos, etc.) | Zones 4–9 | Perennial in cold climates; dies back in winter. |
| Rose of Sharon (H. syriacus) | Zones 5–9 | Cold-hardy and deciduous. |
| Roselle (H. sabdariffa) | Zones 9–11 | Grown as an annual in cooler zones. |
| Confederate Rose (H. mutabilis) | Zones 7–9 | Needs protection from hard frost. |
Tropical Hibiscus
Tropical Hibiscus are my far the most popular of all of the Hibiscus due to their beautiful red, yellow, pink, and orange blooms. However if you are like me and not in zones 9-11 you must take precautions in the winter.
Overwinter
Overwintering a tropical hibiscus is important if you live in a climate where winter temperatures drop below 50°F (10°C), as these plants are frost-sensitive. Here are your two main options:
1. Bring It Indoors (Best for Long-Term Plant Health)
- Before First Frost: Bring the plant inside before nighttime temperatures fall below 50°F (10°C).
- Inspect for Pests: Check leaves, stems, and soil for aphids, spider mites, and whiteflies. Rinse with water or treat with insecticidal soap if needed.
- Prune Lightly: Trim leggy growth to make the plant more manageable and reduce stress indoors.
- Choose a Location: Place in a bright spot—south-facing window is ideal. It needs as much light as possible.
- Water Sparingly: Water when the top inch of soil is dry. Overwatering in low-light conditions causes root rot.
- Humidity Helps: Mist occasionally or use a humidity tray if the air is very dry.
Optional: If you lack bright light, use a grow light to prevent leaf drop.
2. Let It Go Dormant (Low-Light Basement or Garage)
- Prepare: As above, check for pests and prune lightly.
- Location: Place in a cool (but not freezing) dark spot, like a basement or attached garage where temps stay between 45–55°F (7–13°C).
- Water Very Occasionally: Just enough to keep the soil barely moist—every 3–4 weeks. The plant may lose all its leaves, which is normal.
- Spring Wake-Up: In early spring, move it to warmth and light gradually, resume normal watering, and fertilize once new growth appears.
Repotting and fertilizing
When to Repot:
- Early spring, just as new growth begins (after moving it back outdoors or under bright light).
- Every 1–2 years, or when roots are circling the pot or poking out the drainage holes
- Choose a Pot: Use one that’s 1–2 inches wider than the current pot with good drainage.
- Use Well-Draining Soil: A mix of potting soil with added perlite, bark, or sand is ideal. You can also use a citrus or palm mix.
- Loosen the Roots: Gently tease apart any root-bound sections.
- Replant: Set the plant at the same depth as before, backfill with fresh soil, and water thoroughly.
- Optional: You can prune back up to one-third of the plant to encourage bushy growth.
Fertilizing Hibiscus in Spring and Summer
Start Feeding: When you see new leaves forming, typically 1–2 weeks after moving the plant back into warmth and light.
Best Fertilizer:
- Use a balanced or slightly high-potassium fertilizer (e.g., 10-10-10 or 10-10-15).
- Or choose a specialized hibiscus fertilizer (look for one with a bit more potassium—K).
How Often:
- Liquid fertilizer: Every 2 weeks.
- Slow-release fertilizer: Every 2–3 months, depending on the product.
Important Tips:
- Don’t over-fertilize—this can cause leaf burn or poor blooms.
- Always water before applying fertilizer to avoid root damage.
Monthly checklist
Below is the monthly care checklist month by month for tropical hibiscus for those of us that are in zone 5-8.
January – February
- Location: Indoors (bright light or dormant in cool, dark space)
- Watering: Minimal; only when soil is dry to the touch
- Fertilizer: None
- Pruning: None, unless shaping lightly
- Watch for: Spider mites, aphids
March
- Wake-up Time: Move from dormancy to bright indoor light
- Watering: Increase slightly as growth resumes
- Fertilizer: Start light feeding (diluted liquid fertilizer)
- Repotting: Best time for repotting
- Pruning: Prune back leggy growth to encourage bushiness
April
- Light: Increase sun exposure indoors or start hardening off outdoors
- Hardening Off: Begin bringing plant outdoors on warm days (above 55°F), a few hours at a time
- Watering: More frequent as growth increases
- Fertilizer: Regular feeding every 2 weeks (balanced or hibiscus-specific)
May – August
- Location: Outdoors in full sun (6–8 hours), sheltered from strong wind
- Watering: Regular; keep soil consistently moist but not soggy
- Fertilizer: Continue feeding every 2 weeks (or use slow-release)
- Pests: Monitor for aphids, whiteflies, mealybugs
- Deadheading: Optional—flowers drop naturally, but removing spent blooms helps neatness
September
- Transition: Begin preparing to move indoors
- Hardening In: Start bringing it indoors at night
- Fertilizer: Reduce frequency (every 3–4 weeks)
October
- Move Indoors: Before temps dip below 50°F (10°C)
- Inspect: Rinse plant and treat for pests before bringing inside
- Pruning: Light shaping if needed
- Fertilizer: Stop feeding by end of month
November – December
- Location: Indoors or dormant storage
- Watering: Very light (monthly if dormant)
- Fertilizer: None
- Rest Period: Let the plant rest

Common Pest
Tropical hibiscus plants are prone to several common pests, especially when grown indoors or in warm, humid climates. Here are the most common hibiscus pests and how to identify and control them:
1. Spider Mites
- Signs: Tiny specks on leaves, webbing on undersides, yellow or stippled leaves.
- Control:
- Rinse leaves with water regularly.
- Use insecticidal soap or neem oil.
- Increase humidity (spider mites thrive in dry air).
2. Whiteflies
- Signs: Small white flying insects; sticky residue (honeydew); yellowing or dropping leaves.
- Control:
- Yellow sticky traps.
- Spray undersides of leaves with neem oil or insecticidal soap.
- Introduce natural predators (ladybugs, lacewings) if growing outdoors.
3. Aphids
- Signs: Clusters of tiny green, black, or brown insects on new growth; sticky residue; curled leaves.
- Control:
- Blast off with water.
- Use neem oil or insecticidal soap.
- Introduce beneficial insects outdoors.
4. Mealybugs
- Signs: White, cotton-like clusters on stems and leaf joints.
- Control:
- Dab with rubbing alcohol on a cotton swab.
- Repeat treatments with neem oil.
- Isolate infested plants if indoors.
5. Scale Insects
- Signs: Hard, shell-like bumps on stems and leaves; yellowing leaves; sticky residue.
- Control:
- Scrape off gently with fingernail or toothbrush.
- Apply horticultural oil.
- Use systemic insecticides for heavy infestations.
General Tips for Pest Prevention
- Inspect regularly: Especially before bringing plants indoors.
- Keep air circulation good: Avoid overcrowding plants.
- Avoid overwatering: Soggy soil can attract pests.
- Quarantine new plants: Keep them separate for a couple of weeks.

Comments are closed