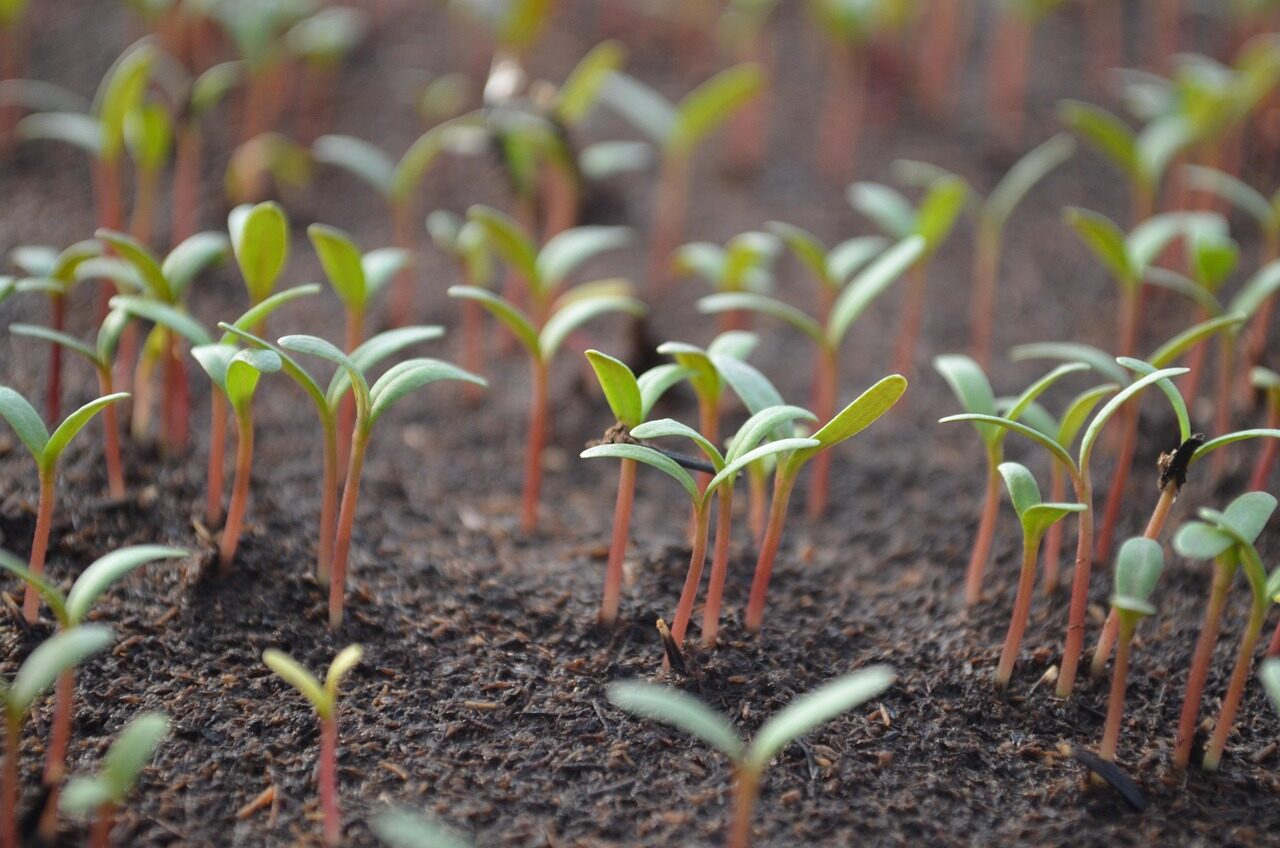
There’s just something special about growing plants and flowers from seed. I love knowing that something so small and plain can turn into a tomato plant loaded with fruit or a flower that stops you in your tracks. Starting from seed gives me way more choices, too. There are hundreds really thousands of different kinds of seeds out there, from old heirloom vegetables to bright, unusual flowers you’ll never find at a garden center. I can pick the colors, the flavors, the sizes, and even the varieties that grow best in my own backyard. It feels simple, honest, and of course it is fun.
When to start vegetable seeds
When to start seeds changes from zone to zone. This is based on the last frost date for spring gardens or the first frost date for fall gardening.
| Vegetable | Start Indoors Before Last Frost | Direct Sow (After Frost) |
|---|---|---|
| Broccoli | 6–8 weeks before | 2–4 weeks before |
| Cabbage | 6–8 weeks before | 2–4 weeks before |
| Cauliflower | 6–8 weeks before | 2–4 weeks before |
| Lettuce | 4–6 weeks before | 2–4 weeks before |
| Spinach | — | 4–6 weeks before |
| Kale | 4–6 weeks before | 2–4 weeks before |
| Tomatoes | 6–8 weeks before | 1–2 weeks after |
| Peppers | 8–10 weeks before | 2–3 weeks after |
| Eggplant | 8–10 weeks before | 2–3 weeks after |
| Cucumbers | 3–4 weeks before | 1–2 weeks after |
| Zucchini/Squash | 3–4 weeks before | 1–2 weeks after |
| Pumpkins | 3–4 weeks before | 2 weeks after |
| Beans | — | 1–2 weeks after |
| Corn | — | 1–2 weeks after |
| Carrots | — | 2–4 weeks before |
| Beets | — | 2–4 weeks before |
| Radishes | — | 4 weeks before |
| Peas | — | 4–6 weeks before |
Average first frost date per zone
| USDA Zone | Average First Frost Date | Typical Range |
|---|---|---|
| Zone 4 | September 15 | Sept 1 – Sept 30 |
| Zone 5 | October 15 | Oct 1 – Oct 31 |
| Zone 6 | October 30 | Oct 17 – Nov 15 |
| Zone 7 | November 15 | Nov 1 – Nov 30 |
| Zone 8 | December 1 | Nov 15 – Dec 15 |
| Zone 9 | December 15 | Dec 1 – Jan 15 |
| Zone 10 | Rare to None | January or later (if at all) |
Germination times
Germination times varies quite a bit from different types of vegetables, some seem pop up in a handful of day or some like peppers can take up to 3 weeks for them to germination.
| Vegetable | Days to Germinate (Average) |
|---|---|
| Lettuce | 2–7 days |
| Spinach | 5–10 days |
| Peas | 7–14 days |
| Radish | 3–7 days |
| Carrots | 7–21 days |
| Beets | 5–10 days |
| Broccoli | 5–10 days |
| Cabbage | 5–10 days |
| Cauliflower | 5–10 days |
| Swiss Chard | 5–10 days |
| Tomatoes | 5–10 days |
| Peppers | 7–21 days |
| Eggplant | 7–14 days |
| Cucumbers | 3–10 days |
| Squash | 3–10 days |
| Watermelon | 5–10 days |
| Beans | 5–10 days |
| Corn | 7–10 days |
Ideal temperature for germination
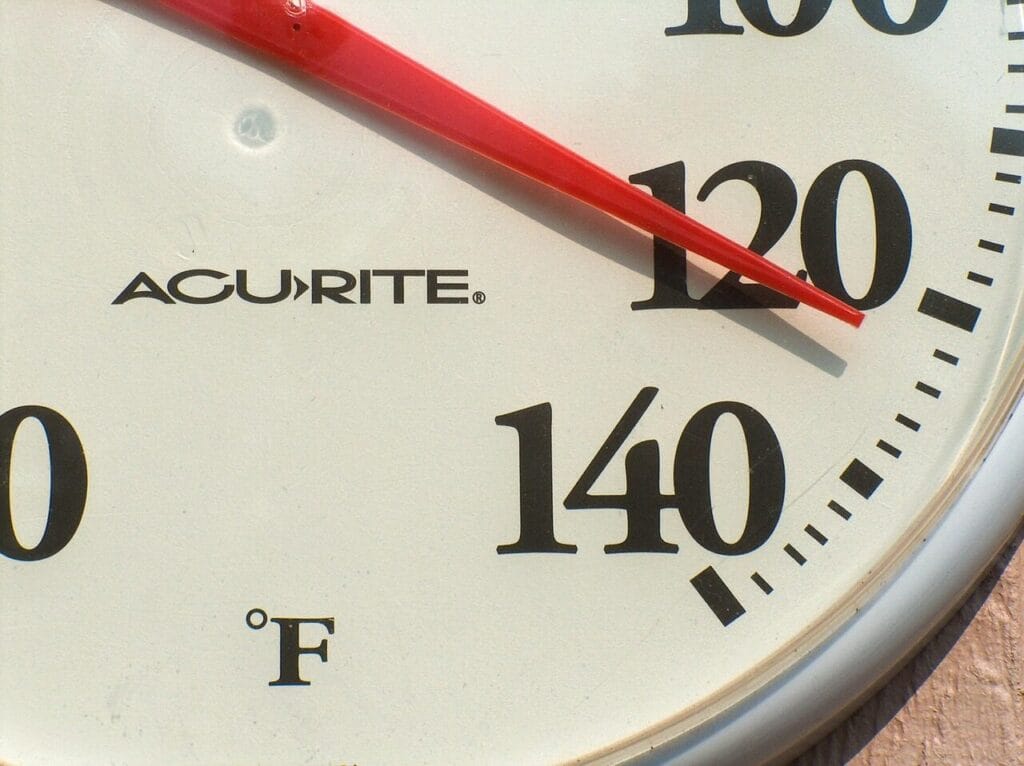
Temperature and moisture plays a huge part in seed germination. In fact most of the failure in seed germination is from lack or moisture. One of the things that I struggled with when I first begin growing seedlings was I had a hard time for cool weather crops such as cabbage to germinate. I later found out that I was using heat mats to try to get the seeds to germinate. I think it was just too warm for the cool weather crops, not dont get me wrong heat mats are great for the warm weather plants. However the cool weather vegetables dont respond well.
| Vegetable | Minimum Soil Temp (°F) | Ideal Soil Temp Range (°F) |
|---|---|---|
| Lettuce | 35 | 60–70 |
| Spinach | 35 | 50–65 |
| Peas | 40 | 55–70 |
| Radish | 40 | 55–75 |
| Carrots | 45 | 60–75 |
| Beets | 45 | 55–75 |
| Broccoli | 40 | 60–75 |
| Cabbage | 40 | 60–75 |
| Cauliflower | 40 | 60–75 |
| Swiss Chard | 50 | 65–75 |
| Tomatoes | 50 | 70–85 |
| Peppers | 60 | 75–90 |
| Eggplant | 60 | 75–90 |
| Cucumbers | 60 | 70–90 |
| Squash | 60 | 70–95 |
| Watermelon | 65 | 75–95 |
| Beans | 60 | 70–85 |
| Corn | 50 | 65–85 |
Heat mat yes or no
Using heat mats for seed germination can really speed things up, especially for warm-season crops like tomatoes, peppers, and eggplant. Seeds sprout best when the soil is warm (not just the air) so a heat mat placed under your trays keeps the soil at a steady temperature and helps seeds germinate faster and more evenly. It can make a big difference in early spring when rooms tend to be cool. Once the seeds sprout, though, it’s best to remove the heat so seedlings don’t get leggy and grow too fast.
| Vegetable | Ideal Soil Temp (°F) | Heat Mat Recommended? |
|---|---|---|
| Tomatoes | 70–85 | Yes |
| Peppers | 75–90 | Yes (Strongly) |
| Eggplant | 75–90 | Yes |
| Okra | 75–95 | Yes |
| Cucumbers | 70–90 | Yes |
| Squash | 70–95 | Yes |
| Zucchini | 70–95 | Yes |
| Watermelon | 75–95 | Yes |
| Cantaloupe | 75–90 | Yes |
| Pumpkins | 70–95 | Yes |
| Basil | 70–85 | Yes |
| Beans | 70–85 | Helpful (Optional) |
| Vegetable | Ideal Soil Temp (°F) | Heat Mat Recommended? |
|---|---|---|
| Lettuce | 60–70 | No |
| Spinach | 50–65 | No |
| Peas | 55–70 | No |
| Radish | 55–75 | No |
| Carrots | 60–75 | No |
| Beets | 55–75 | No |
| Turnips | 55–75 | No |
| Kale | 60–75 | No |
| Broccoli | 60–75 | No |
| Cabbage | 60–75 | No |
| Cauliflower | 60–75 | No |
| Swiss Chard | 65–75 | No |
| Arugula | 55–70 | No |
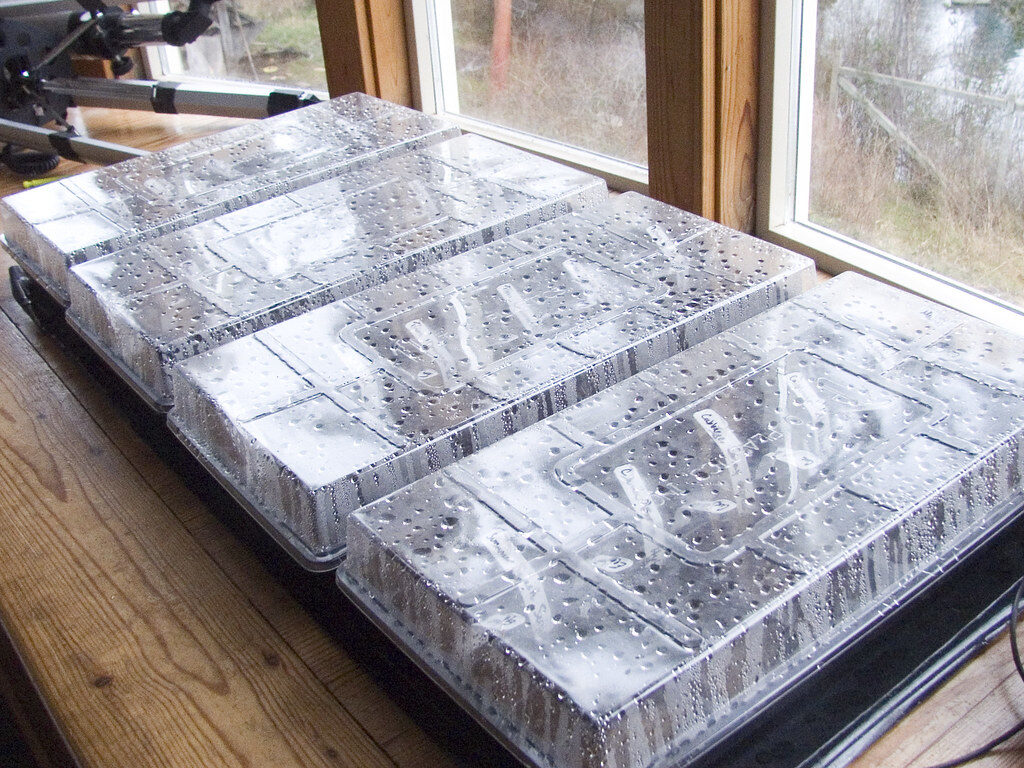
Humidity
Humidity plays an important role in seed starting, but it changes depending on the stage.
During germination:
Seeds like consistent moisture, so higher humidity helps prevent the soil surface from drying out. That’s why humidity domes are often used at first. They trap moisture and create a mini greenhouse effect. The key is moist soil not soaking wet —and good airflow once seeds sprout.
After seedlings emerge:
This is where many people go wrong. Seedlings do not need high humidity once they’re up. In fact, too much humidity can lead to problems like damping-off disease (a fungal issue that makes seedlings collapse). Once most seeds have sprouted, remove the humidity dome and provide good airflow with a small fan. Normal indoor humidity (around 40–60%) is just fine.
Simple rule of thumb:
High humidity for sprouting.
Good airflow and moderate humidity for growing.
Common Problems
Although starting plants from seeds is pretty easy there are so common problems that does arise.
1. Leggy (Tall, Weak) Seedlings
What it looks like: Long, skinny stems that flop over.
Cause: Not enough light.
Fix: Move lights closer (2–3 inches above plants) and provide 14–16 hours of bright light daily.
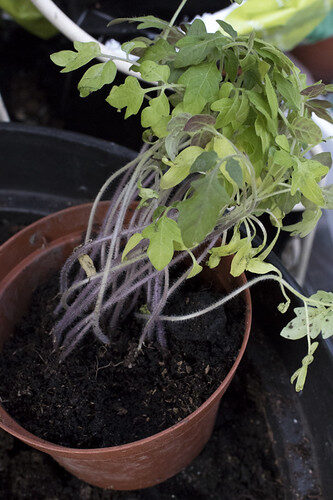
2. Damping-Off
What it looks like: Seedlings suddenly fall over at the soil line and die.
Cause: Too much moisture + poor airflow (fungal disease).
Fix: Use clean seed-starting mix, don’t overwater, remove humidity dome after sprouting, and use a small fan for airflow.
3. Seeds Not Germinating
What it looks like: Nothing comes up.
Cause: Soil too cold, planted too deep, old seed, or soil dried out.
Fix: Check temperature needs, plant at proper depth, and keep soil consistently moist.
4. Yellowing Leaves
What it looks like: Pale or yellow seedlings.
Cause: Overwatering or lack of nutrients.
Fix: Let soil dry slightly between watering and begin light fertilizing once true leaves appear.
5. Purple Leaves
What it looks like: Purplish tint, especially on tomatoes.
Cause: Cold soil or stress.
Fix: Warm up the growing area and avoid temperature swings.
6. Mold on Soil Surface
What it looks like: White fuzzy growth on top of soil.
Cause: Excess moisture and poor airflow.
Fix: Improve airflow, water from the bottom if possible, and scrape off mold.
7. Wilting Seedlings
What it looks like: Droopy plants even though soil looks wet.
Cause: Root rot from overwatering.
Fix: Improve drainage and allow soil to dry more between waterings.
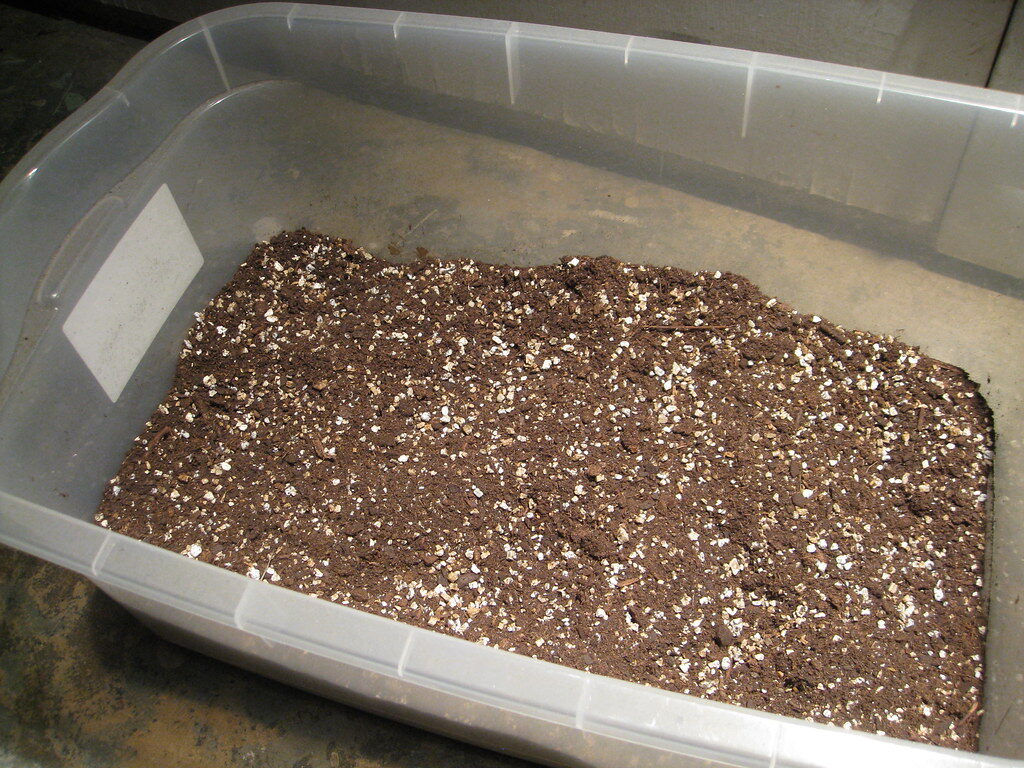
Best soil to use
| Soil / Mix Type | Pros | Cons |
|---|---|---|
| Seed Starting Mix (Soilless) | Light, sterile, drains well, reduces disease risk | Dries out quickly, contains few nutrients |
| Peat Moss–Based Mix | Holds moisture well, widely available | Can become compacted, not very eco-friendly, dries hard if neglected |
| Coco Coir–Based Mix | Renewable resource, holds moisture evenly, good texture | May need added nutrients, can be slightly more expensive |
| Potting Soil (Regular) | Contains nutrients, easy to find | Often too heavy for tiny seeds, may cause poor drainage |
| Compost (Fine & Screened) | Nutrient-rich, improves microbial life | Can contain weed seeds or pathogens if not fully composted |
| Vermiculite | Excellent moisture retention, light texture | No nutrients, can stay too wet if overwatered |
| Perlite (Mixed In) | Improves drainage and aeration | Very lightweight and dusty, no nutrients |
| Homemade Mix (Peat/Coir + Perlite/Vermiculite) | Customizable, cost-effective long term | Requires measuring and mixing properly |
Pros and Cons of seed tray size
| Container Size | Pros | Cons |
|---|---|---|
| Small cells (e.g., 72‑cell flats) | Fits a lot of seedlings in a small space; uses less soil; ideal for small plants | Roots can get crowded fast; more frequent watering; may need early transplanting |
| Medium cells (e.g., 24–36 cell trays) | Good balance of space and number; works for most veggies; easier watering than tiny cells | Takes up more space than small cells; still may need transplant before garden |
| Large cells (e.g., 6–10 cell trays) | Lots of room for root growth; less transplant shock; great for big‑rooted veggies (tomatoes, peppers) | Uses more soil and space; fewer plants per flat; slower to fill space |
| Individual pots (2–4″ pots) | Best root development; easy to water evenly; ideal for long‑grow plants | Takes up lots of space; uses more soil; higher material cost |
| Biodegradable pots | Plant directly in garden with less root disturbance | Can dry out quicker; may break down too fast if overwatered |
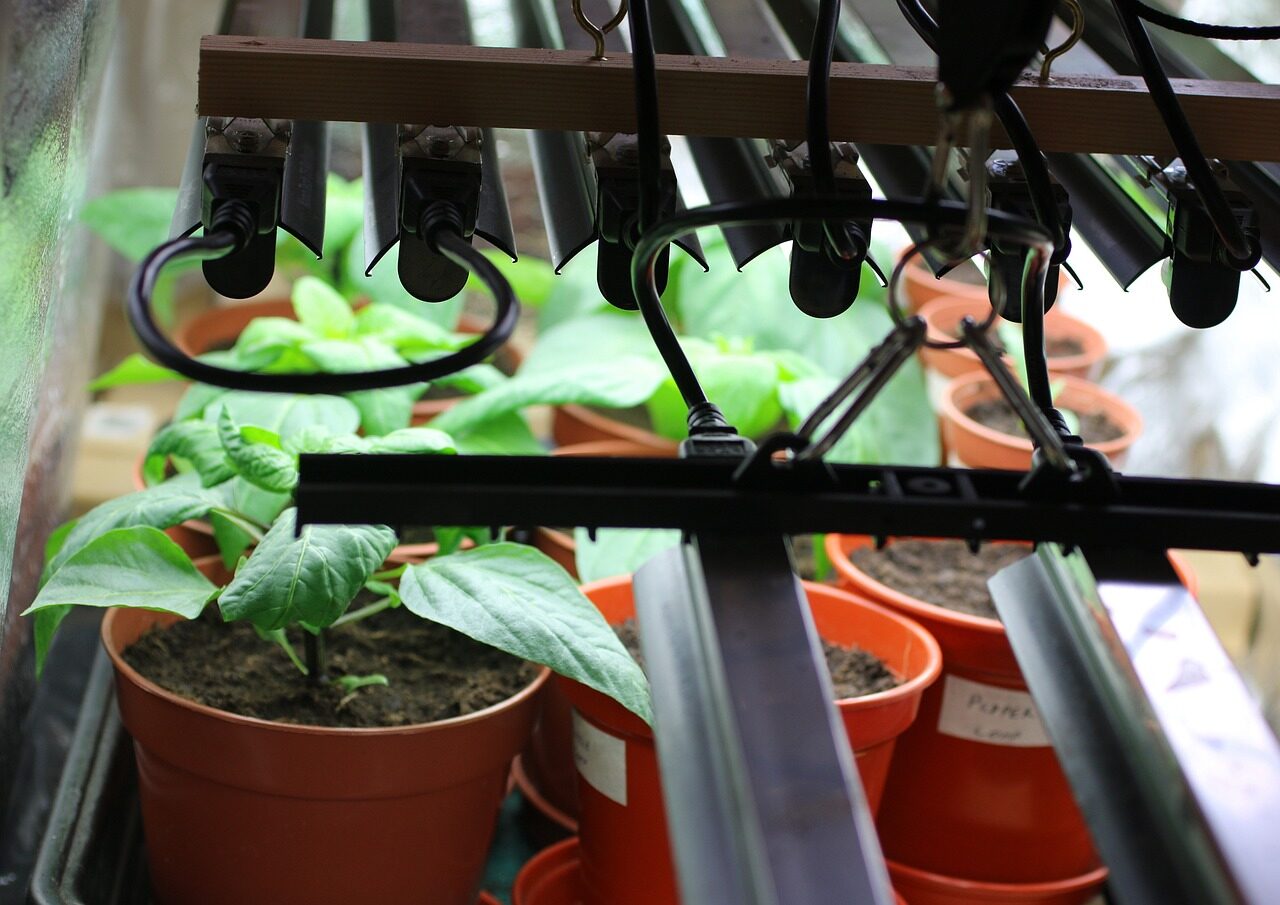
Lights
Overhead lights are one of the most important parts of growing strong seedlings indoors. Since young plants naturally stretch toward light, placing grow lights directly above them helps them grow straight and sturdy instead of tall and leggy. The lights should hang just a few inches (about 2–3 inches) above the tops of the seedlings and be adjusted as they grow. Most seedlings do best with 14–16 hours of light per day, which is easy to manage with a simple timer. Bright, consistent overhead light makes a huge difference in developing thick stems, healthy leaves, and compact plants that are ready for the garden.
Type of lights
| Light Type | Pros | Cons |
|---|---|---|
| Fluorescent (T5/T8) | Inexpensive, low heat, good for small setups | Bulbs dim over time, may need multiple tubes for larger trays |
| LED Grow Lights | Energy-efficient, long-lasting, adjustable spectrum, low heat | Higher upfront cost, some cheap LEDs are low quality |
| Incandescent Lights | Easy to find, inexpensive | Produces too much heat, inefficient, can burn seedlings, weak spectrum for growth |
| Natural Sunlight | Free, full spectrum, excellent for growth | Inconsistent, may be too weak in winter, seedlings can stretch if light is far away |
| Compact Fluorescent (CFL) | Easy to use, widely available, low heat | May not cover large areas, bulbs wear out faster than LEDs |
Distance from lights
For most seedlings, keep the light 2–3 inches above the tops of the plants. As they grow, raise the light to maintain that distance, so seedlings stay short and sturdy instead of stretching toward the light. This can be made difficult if you have some fast growing plants or slow ones. What I do if I only have 1 light source is I will put the shorter plants on a shoe box or book to get them also 2-3 inches from the light source.
When, how, and how much to fertilize seedlings
| Vegetable | When to Fertilize | How Often | How Much / Strength |
|---|---|---|---|
| Lettuce | When true leaves appear | Every 1–2 weeks | ¼ strength water-soluble solution |
| Spinach | When true leaves appear | Every 1–2 weeks | ¼ strength |
| Peas | Optional; lightly after true leaves | Every 2 weeks if needed | ¼ strength |
| Radish | Usually not needed | N/A | N/A |
| Carrots | Usually not needed | N/A | N/A |
| Beets | When true leaves appear | Every 2 weeks | ¼–½ strength |
| Broccoli | When true leaves appear | Every 1–2 weeks | ¼ strength |
| Cabbage | When true leaves appear | Every 1–2 weeks | ¼ strength |
| Cauliflower | When true leaves appear | Every 1–2 weeks | ¼ strength |
| Swiss Chard | When true leaves appear | Every 1–2 weeks | ¼ strength |
| Tomatoes | When first true leaves appear | Every 1 week | ¼ strength, increase as seedlings grow |
| Peppers | When first true leaves appear | Every 1 week | ¼ strength, increase gradually |
| Eggplant | When first true leaves appear | Every 1 week | ¼ strength, increase gradually |
| Cucumbers | When first true leaves appear | Every 1 week | ¼ strength, increase gradually |
| Squash | When first true leaves appear | Every 1 week | ¼ strength, increase gradually |
| Watermelon | When first true leaves appear | Every 1 week | ¼ strength, increase gradually |
| Beans | Usually not needed | N/A | N/A |
| Corn | When 2–3 sets of true leaves appear | Every 1–2 weeks | ¼ strength |
Finally when to plant
| Vegetable Type | Recommended Seedling Size / Stage for Planting | Notes |
|---|---|---|
| Lettuce / Spinach | 2–3 true leaves | Plant early; thin if needed |
| Peas / Beans | 2–3 inches tall, sturdy stem | Can tolerate cooler soil |
| Radish / Carrots / Beets | 1–2 inches tall, true leaves | Carrots and beets often direct-seeded |
| Broccoli / Cabbage / Cauliflower | 4–6 inches tall, 4–6 true leaves | Harden off before transplant |
| Tomatoes | 6–10 inches tall, 4–6 true leaves | Strong stems, ready for warmer soil |
| Peppers | 4–6 inches tall, 4 true leaves | Slow growers; warm soil required |
| Eggplant | 4–6 inches tall, 4 true leaves | Needs warm soil; sturdy stems |
| Cucumbers / Squash / Zucchini | 3–6 inches tall, 2–4 true leaves | Can be started indoors or direct seeded |
| Watermelon / Cantaloupe / Pumpkins | 4–6 inches tall, 2–4 true leaves | Warm soil essential; transplant carefully |
| Corn | 6–10 inches tall, 2–3 true leaves | Space plants well; handle roots gently |
Tip:
- Harden off seedlings for 7–10 days before planting outside: gradually expose them to outdoor conditions.
- Smaller seedlings can be planted early for cool-season crops, but warm-season crops should be planted larger and sturdier to survive the outdoor environment.
No responses yet