
Irises are one of the easiest flowers you can grow, even if you don’t have much experience in the garden. Once you plant them in a sunny spot with decent drainage, they pretty much take care of themselves. They don’t need constant watering, and they’re tough enough to handle changing weather. What really surprises people is how quickly they spread and what starts as a small clump can turn into a full patch in just a couple of seasons. Each year they come back stronger, sending up more fans of leaves and more blooms, making them a reliable choice if you want something low-maintenance but still eye-catching.
Because they multiply so fast, you’ll eventually need to divide them to keep them healthy and blooming well. The best time to separate irises is usually a few weeks after they finish flowering, often in mid to late summer. By then, the plant has stored enough energy, and you can dig up the clump, gently break apart the rhizomes, and replant the healthy pieces with some space between them. This keeps overcrowding from becoming a problem and gives each plant room to grow. It might feel a little rough the first time you do it, but irises are hardy and they handle division well and bounce back quickly.
Main types of Iris
| Iris Type | What They’re Known For | Bloom Time |
|---|---|---|
| Bearded Iris | Big, ruffled blooms; very easy to grow | Late spring |
| Siberian Iris | Graceful, slender flowers; low maintenance | Late spring–early summer |
| Japanese Iris | Large, flat blooms; loves moist soil | Early–mid summer |
| Dutch Iris | Great for cut flowers; more delicate look | Late spring |
| Louisiana Iris | Thrives in wet areas; bold colors | Spring–early summer |
| Dwarf Bearded Iris | Short and early blooming; great for borders | Early spring |
Most Popular Varieties
| Variety Name | Color Highlights | Why It Stands Out |
|---|---|---|
| Immortality | Pure white with a soft glow | Clean, bright contrast in any garden |
| Clarence | Light blue petals with deep purple falls | Classic two-tone beauty |
| Dusky Challenger | Deep, velvety purple | One of the darkest, richest colors |
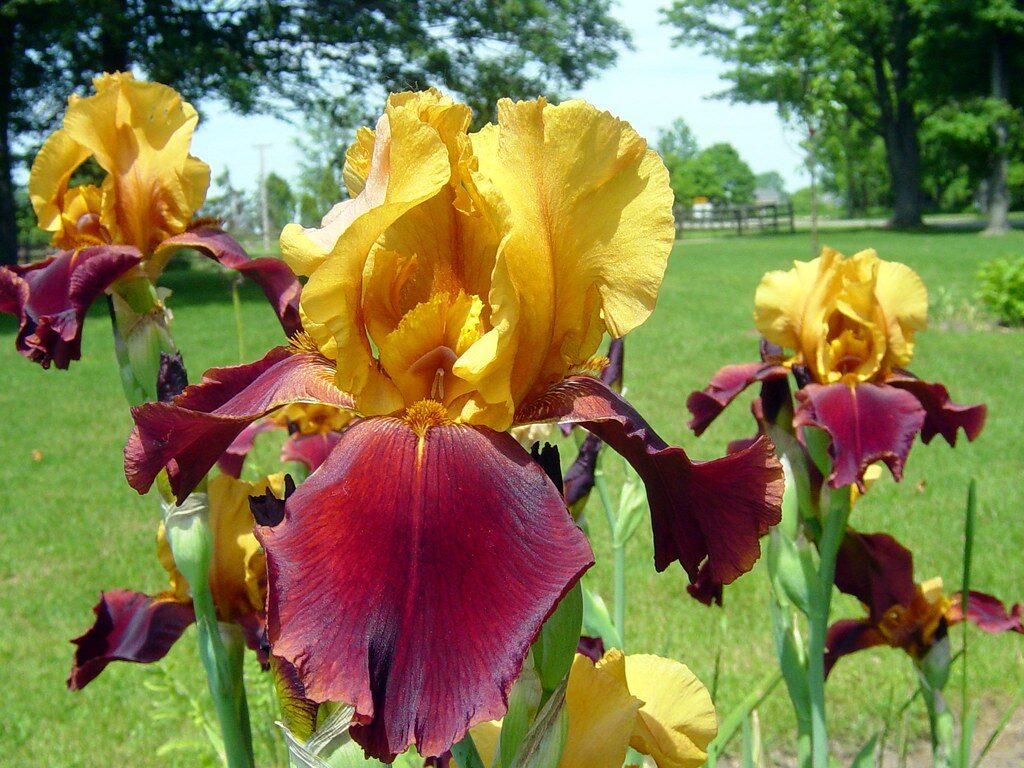
| Beverly Sills | Coral-pink with ruffled edges | Warm, sunset-like tones |
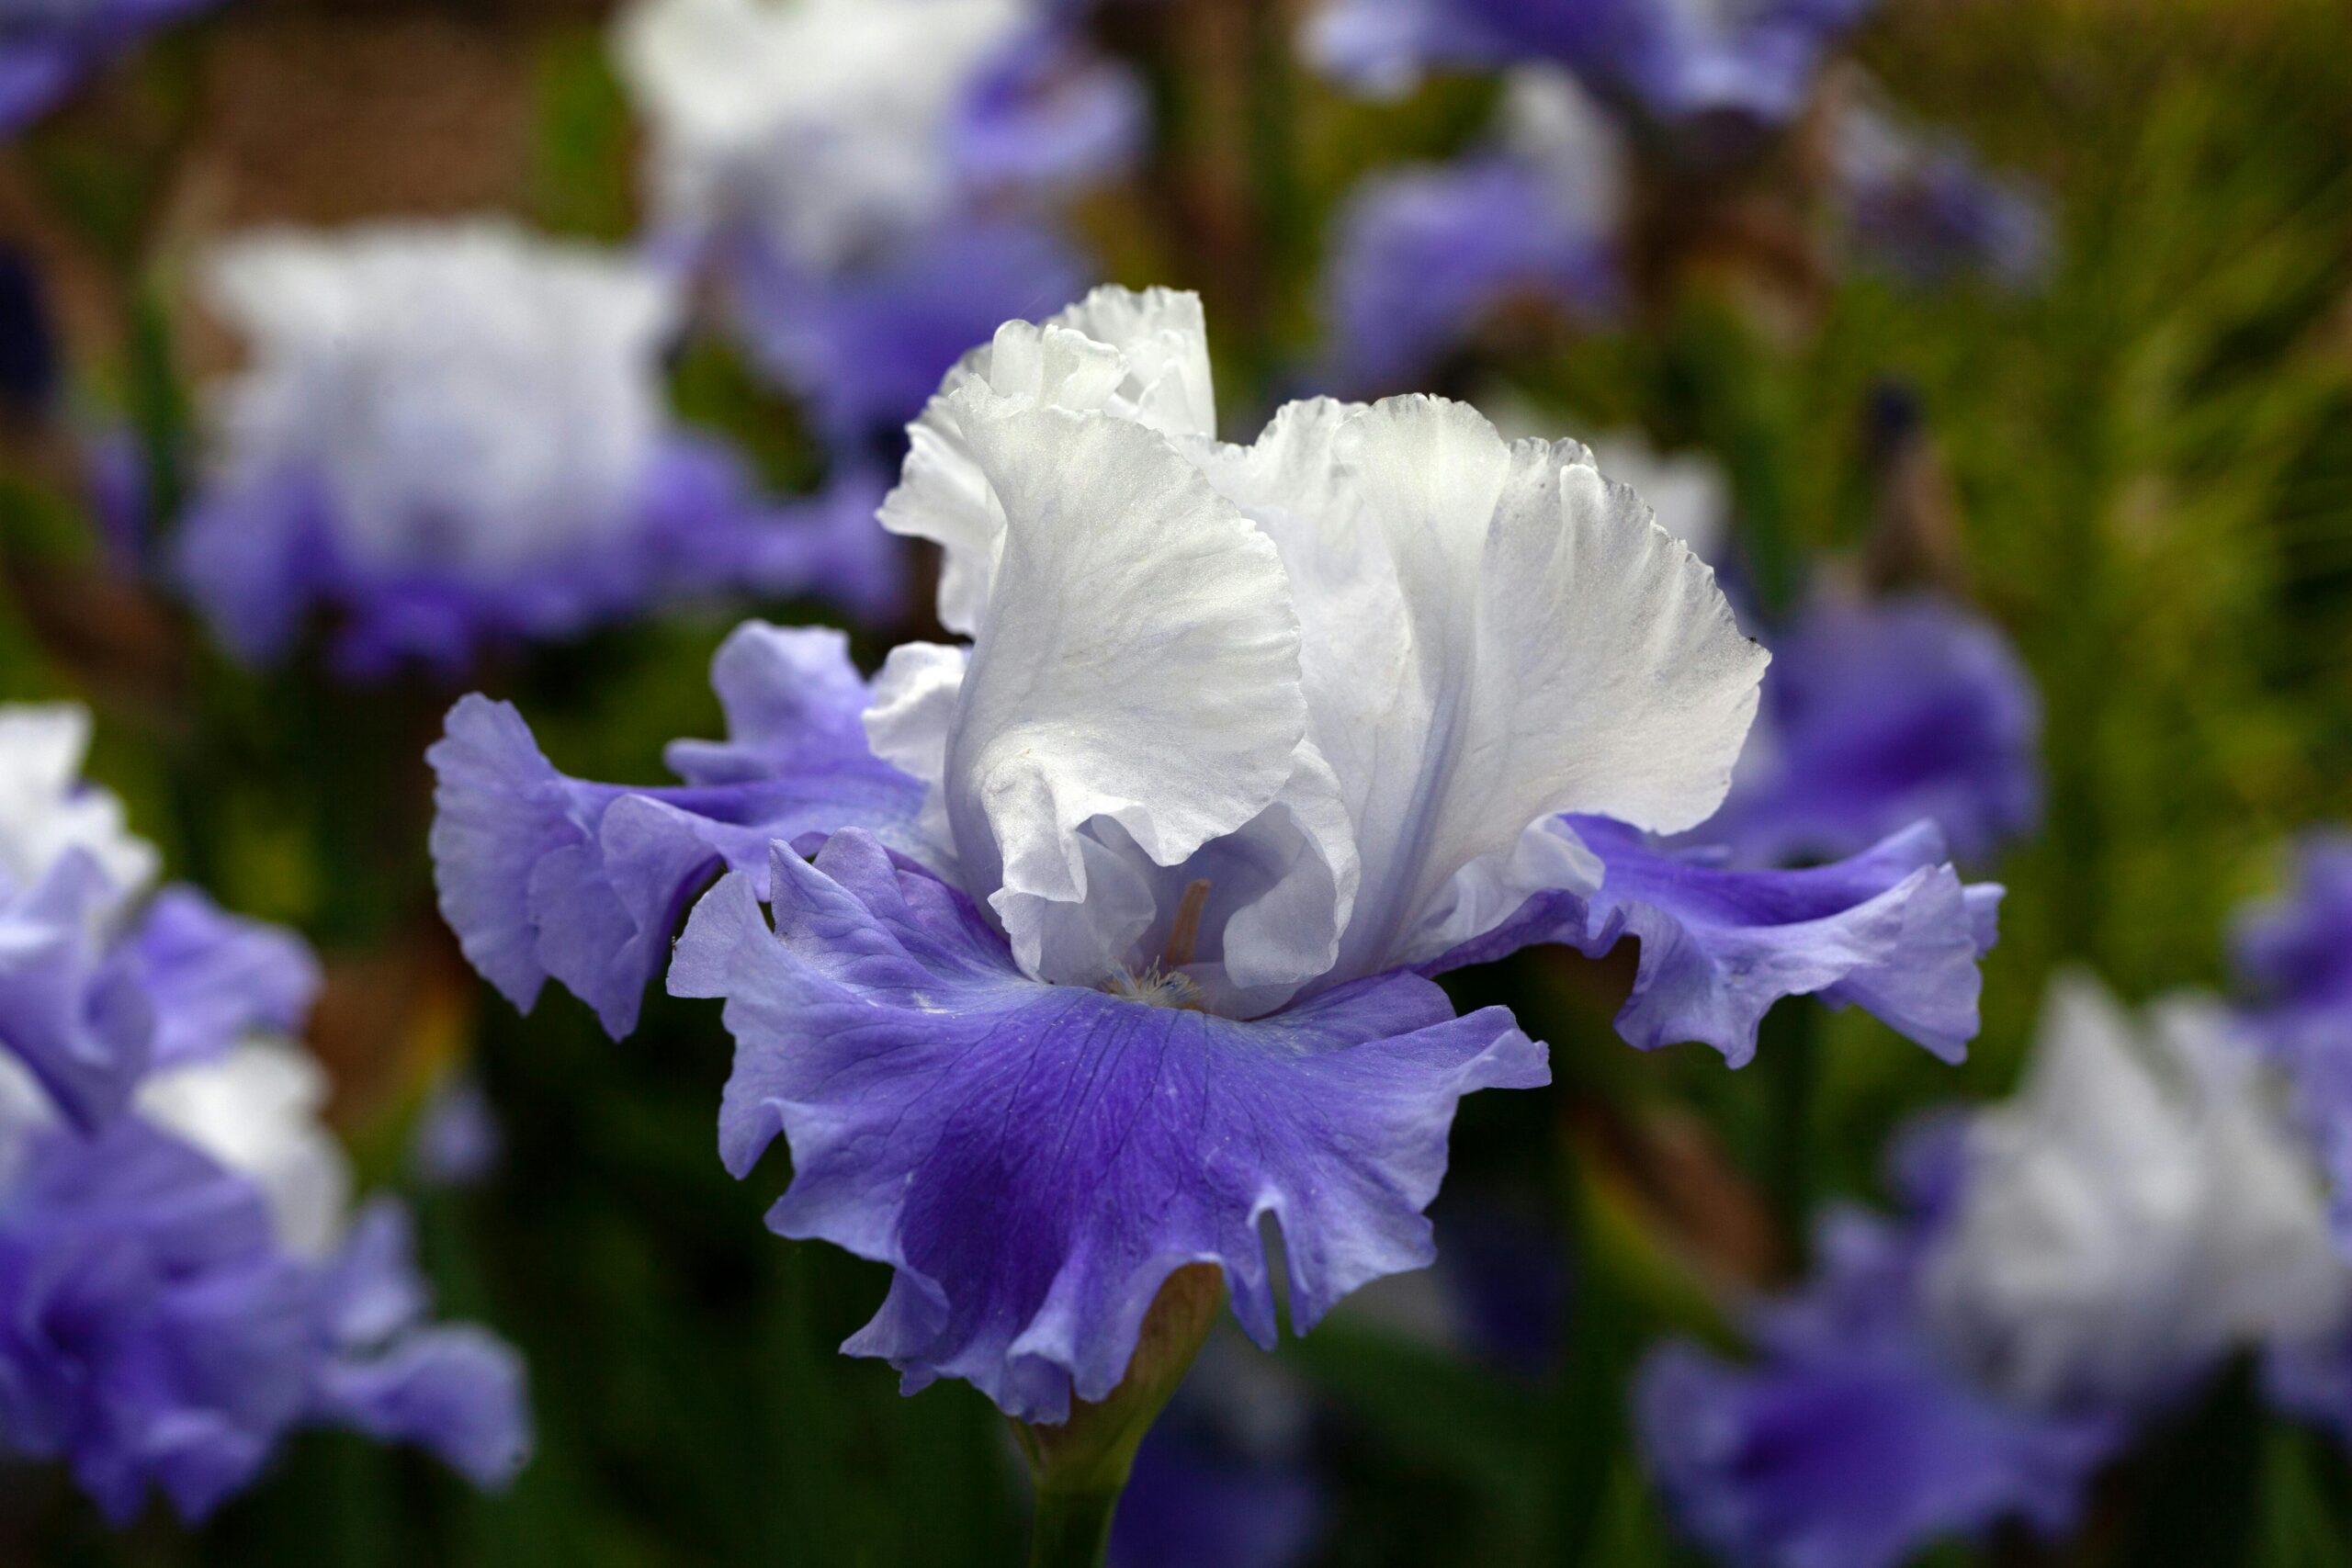
| Stairway to Heaven | White standards with soft blue falls | Gentle, airy color contrast |
| Batik | Purple and white streaked pattern | Unique, almost hand-painted look |
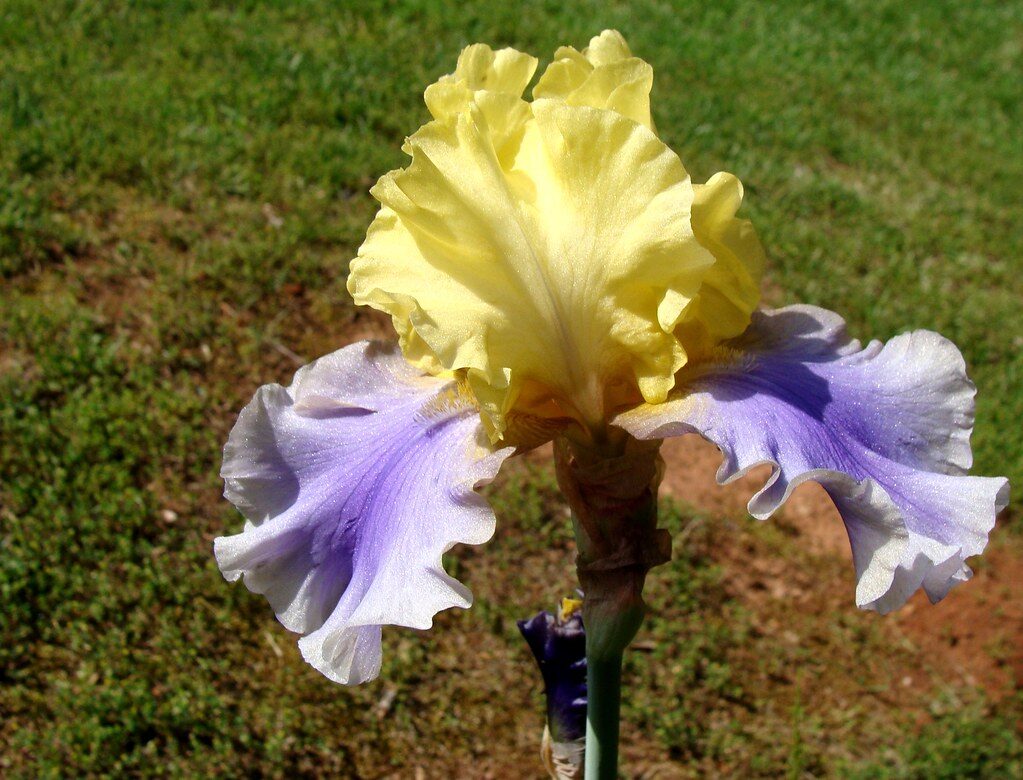
| Halloween Halo | Golden yellow with a soft lavender halo | Rare and eye-catching color blend |
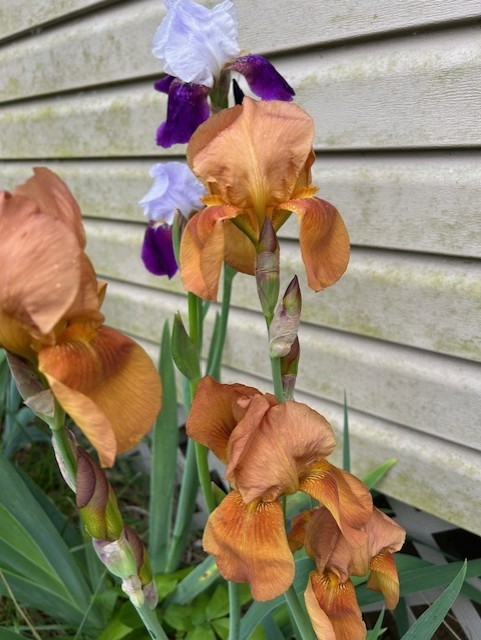
| Rajah | Burnt orange with bronze tones | Strong, earthy and unusual coloring |
Immortality
Recommend mix of Iris types for flowers all season
| Iris Type | Bloom Time | Why Grow It |
|---|---|---|
| Dwarf Bearded Iris | Early spring | Starts the season with color |
| Tall Bearded Iris | Mid–late spring | Big, showy, classic blooms |
| Siberian Iris | Late spring–early summer | Keeps color going strong |
| Reblooming Bearded Iris | Late summer–fall | Brings blooms back again later |
What are rebloomings iris
A reblooming iris is a type of iris that can flower more than once in a growing season. Instead of blooming just in spring like most traditional irises, a rebloomer will have its main flush of flowers in late spring and then, if conditions are right, send up another round of blooms in late summer or fall. This second bloom isn’t guaranteed every year, but in good conditions it can be quite impressive and extend the color in your garden long after most irises are finished.
To get reblooming irises to perform well, they need healthy growing conditions: plenty of sun, good drainage, and regular but not excessive fertilizing after the first bloom cycle. Removing spent flower stalks and keeping the plants well-spaced also helps them conserve energy for a second show. Popular reblooming bearded iris varieties have been selectively bred for this trait, making them a great choice if you want longer-lasting garden color without planting entirely different species for each season.
Spacing issues
When an iris runs out of room, it becomes overcrowded, and that starts to affect both its health and its blooming. The rhizomes (the thick, horizontal “roots” of the plant) keep multiplying outward each year, and eventually they press tightly together. When this happens, the plant puts more energy into surviving and expanding than producing flowers, so you’ll usually notice fewer blooms, smaller flowers, or even no flowers at all. You may also see the center of the clump becoming bare or dying out while the edges stay green.
Overcrowding also reduces airflow and increases the chance of problems like rot and disease, especially in wet conditions. The good news is that irises respond very well to being divided. Every 3–4 years (sometimes sooner if they’re very vigorous), you can dig up the clump after flowering, cut or break apart the healthy outer rhizomes, and replant them with space in between. This “reset” gives them room again and usually brings back strong blooming the next season.
Best time to divide (split) irises by zone
| USDA Zone | Best Time to Split Irises | Notes |
|---|---|---|
| Zone 3 | Late July – mid August | Finish early so roots establish before frost |
| Zone 4 | Late July – late August | Ideal window for cold climates |
| Zone 5 | August | Most reliable division period |
| Zone 6 | July – August | After flowering, before fall cool-down |
| Zone 7 | July – early September | Slightly longer window due to milder fall |
| Zone 8 | August – September | Can extend into early fall |
| Zone 9 | September – October | Best when temperatures start cooling |
| Zone 10 | October – December | Divide during coolest months only |
Is timing really that important?
You wait to split irises because timing affects whether the plant survives the stress and comes back strong or struggles for a year or more.
Right after blooming, the iris shifts from flower production into storing energy in its rhizomes for next year. If you dig it up too early, you interrupt that process and weaken the plant. Waiting a few weeks after bloom gives the leaves time to feed the rhizomes and rebuild energy reserves. That stored energy is what helps the divided pieces root, recover, and still bloom the following season.
There’s also a practical side: freshly bloomed irises are actively growing and more vulnerable to damage, rot, and transplant shock. By late summer, the plant naturally slows down a bit, making it much more tolerant of being dug up, cut apart, and replanted. That’s why the sweet spot is usually about 4–6 weeks after flowering—warm enough for roots to regrow, but late enough that the plant has finished its post-bloom energy cycle.
Dividing guide
| Step | What to Do | Details |
|---|---|---|
| 1 | Wait for the right time | Divide 4–6 weeks after blooming (usually mid to late summer) |
| 2 | Cut leaves back | Trim fans to about 4–6 inches tall to reduce stress and water loss |
| 3 | Dig up the clump | Use a garden fork or spade and gently lift the entire clump out |
| 4 | Shake off soil | Remove loose dirt so you can clearly see the rhizomes |
| 5 | Separate rhizomes | Break or cut apart healthy outer rhizomes; discard old, soft, or rotten centers |
| 6 | Inspect and trim | Remove any damaged roots and check for pests or rot |
| 7 | Prepare new planting area | Choose a sunny spot with well-drained soil |
| 8 | Replant correctly | Set rhizomes just at or slightly above soil level, roots spread out below |
| 9 | Space them out | Leave 12–24 inches between plants for airflow and future growth |
| 10 | Water lightly | Water once after planting, then only as needed until established |
How often to divide
Most irises need to be divided about every 3 to 5 years, but the exact timing depends on how fast they grow and how crowded they get.
| Situation | How Often to Divide | What You’ll Notice |
|---|---|---|
| Healthy, well-spaced clumps | Every 4–5 years | Normal blooming, steady growth |
| Fast-growing varieties | Every 2–3 years | Clumps spread quickly, may overtake space |
| Crowded beds | As needed (3 years or less) | Fewer blooms, bare center, tight clumps |
| Poor blooming plants | Immediately if overcrowded | Lots of leaves, few or no flowers |
A good rule of thumb: if irises stop blooming well, it’s usually a space problem, not a fertilizer problem. You’ll often see the center of the clump die out while the edges stay healthy—that’s your signal it’s time to dig and divide
Ideal Conditions
| Growing Factor | Ideal Conditions | Notes |
|---|---|---|
| Sunlight | Full sun (6–8 hours daily) | More sun = better blooms |
| Soil Type | Well-drained, light soil | Heavy clay should be improved or loosened |
| Water | Moderate, not soggy | Don’t let rhizomes sit in water |
| Spacing | 12–24 inches apart | Allows airflow and room to multiply |
| Planting Depth | Rhizome at or just above soil surface | Too deep = fewer blooms |
| Fertilizer | Low nitrogen, balanced mix | Too much nitrogen = more leaves, fewer flowers |
| Air Circulation | Good airflow | Helps prevent rot and disease |
| Divide Plants | Every 3–4 years | Keeps plants healthy and blooming strong |
Best time to plant bulbs
| USDA Zone | Best Planting Time | Notes |
|---|---|---|
| Zone 3 | Late summer (Aug–early Sept) | Plant early so roots establish before frost |
| Zone 4 | Late summer–early fall | Gives time before cold sets in |
| Zone 5 | Late summer–early fall | Ideal for strong spring blooms |
| Zone 6 | Late summer–early fall | Most common planting window |
| Zone 7 | Late summer–fall | Slightly longer planting season |
| Zone 8 | Fall–early winter | Mild climate allows later planting |
| Zone 9 | Fall–winter | Avoid hottest part of the year |
| Zone 10 | Late fall–winter | Plant during coolest months |
Island Hopper
Common usages of Zinnias
| Use of Zinnias | What It Looks Like in Practice | Why People Like It |
|---|---|---|
| Cut Flowers | Snipped stems in vases, jars, and bouquets | Long-lasting, bright, and keeps producing more blooms |
| Garden Color Display | Planted in beds, borders, or mass plantings | Creates bold, nonstop summer color |
| Pollinator Support | Flowers left in garden for bees and butterflies | Attracts beneficial insects all season |
| Flower Arrangements | Mixed with other flowers in bouquets and centerpieces | Adds structure, height, and bright color |
| Container Gardening | Grown in pots on patios or porches | Easy way to bring color to small spaces |
| Educational Gardening | Used in kids’ or beginner gardens | Fast growth makes it fun and rewarding |
| Seed Saving | Flowers left to dry and produce seeds | Easy way to replant next year |
Fertilizing schedule
| Time of Year | What to Do | Notes |
|---|---|---|
| Early Spring | Light feeding with low-nitrogen fertilizer (like 5-10-10) | Helps support bloom development |
| Right After Bloom | Fertilize again | Rebuilds energy in the rhizomes |
| Mid Summer | Optional light feeding if plants look weak | Don’t overdo it—too much reduces blooms |
| Fall | Usually no fertilizer | Let plants naturally slow down |
Helpful tips:
- I just use a standard 10-10-10 for most applications
Common Pest
The iris borer is the biggest troublemaker, if you stay on top of cleaning up dead leaves in fall and keeping plants divided, you can prevent most serious problems before they start.
| Pest | What It Does | Signs to Look For |
|---|---|---|
| Iris Borer | Tunnels into rhizomes and leaves | Soft, rotting rhizomes; holes in leaves |
| Aphids | Suck sap from leaves and stems | Sticky residue, curled or yellowing leaves |
| Thrips | Damage flowers and buds | Streaked or distorted blooms |
| Slugs & Snails | Chew on leaves and flowers | Ragged holes, slime trails |
| White Grubs | Feed on roots and rhizomes | Weak plants that pull up easily |
| Spider Mites | Suck plant juices, especially in dry heat | Fine webbing, speckled leaves |
Common diseases
| Disease | What It Does | Signs to Look For |
|---|---|---|
| Soft Rot | Breaks down rhizomes (often bacterial) | Mushy, foul-smelling rhizomes |
| Leaf Spot | Fungal spots on leaves | Brown or yellow speckled patches |
| Bacterial Leaf Blight | Damages foliage in wet conditions | Water-soaked streaks turning brown |
| Iris Rust | Fungal disease affecting leaves | Orange-brown powdery spots |
| Crown Rot | Affects base of plant | Wilting, collapse of entire fan |
| Botrytis Blight | Fungal rot in cool, damp weather | Gray mold on buds or leaves |
Irises are one of the easiest flowers to grow because they do not need a lot of care to survive and can grow in many different climates. They are strong plants that come back every year, which makes them a great choice for both beginner and experienced gardeners. Another reason irises are so popular is because there are so many different varieties to choose from. They come in many colors, sizes, and shapes, from bright purple and blue to yellow, white, and even mixed colors. With thousands of different types of irises around the world, gardeners can always find one that fits their style. Overall, irises are easy to grow, beautiful to look at, and have enough variety to make any garden unique and colorful.
Comments are closed