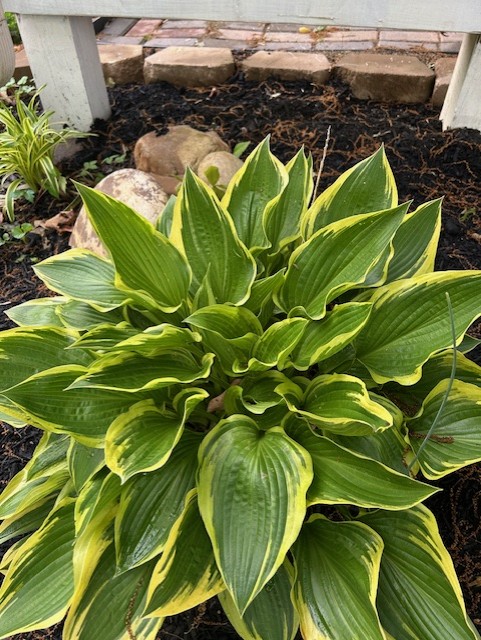
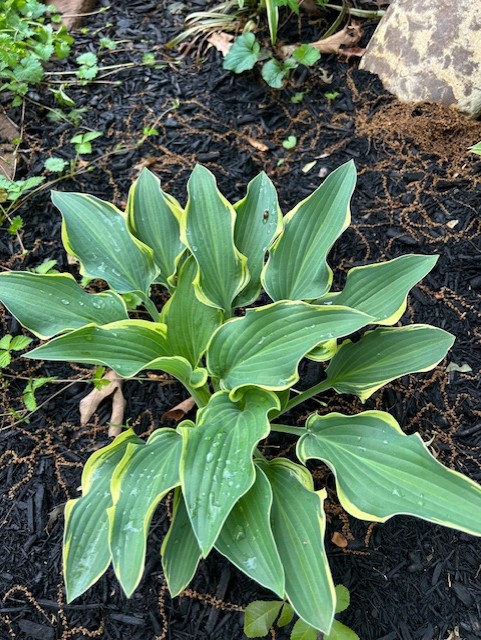
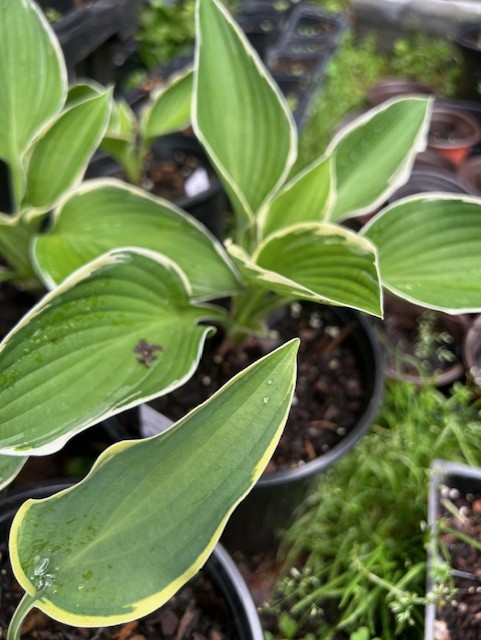
Hostas are an excellent choice for almost any yard because they’re hardy, low-maintenance, and add lush texture and color to shaded or partially shaded areas. Their broad, attractive leaves come in a wide range of shapes and colors—from deep green to variegated white and gold—creating visual interest throughout the growing season. Hostas are also perennials, meaning they return year after year with minimal care, and they’re highly adaptable to different soil types once established. In addition to their beauty, they pair well with other shade-loving plants and help suppress weeds with their dense foliage. Although hostas do bloom, they flowers are pale in comparison to their leaves. Whether you’re filling a shady corner, bordering a walkway, or creating a serene garden bed, hostas bring elegance, durability, and easy care to your landscape.
Different categories
Hostas are typically categorized by size, leaf characteristics, and color.
- By Size:
- Miniature Hostas: Under 6 inches tall (e.g., ‘Blue Mouse Ears’). Great for borders or containers.
- Small Hostas: 6–10 inches tall. Compact but still full-looking.
- Medium Hostas: 10–18 inches tall—very versatile and common in garden beds.
- Large Hostas: 18–28 inches tall with wide-spreading clumps (e.g., ‘Frances Williams’).
- Giant Hostas: Over 28 inches tall with massive leaves (e.g., ‘Sum and Substance’).
- By Leaf Color and Pattern:
- Green Hostas: Classic solid green leaves, from light to deep emerald.
- Blue Hostas: Have a waxy coating that gives a bluish tint; best in shade (‘Halcyon’).
- Gold or Yellow Hostas: Bright, sunny tones that stand out in shade (‘Gold Standard’).
- Variegated Hostas: Feature multiple colors—often green with white, cream, or yellow edges or centers.
- By Leaf Texture and Shape:
- Smooth-leaved varieties have sleek, shiny surfaces.
- Corrugated or puckered types add bold texture.
- Heart-shaped, narrow, or cupped leaves provide additional variety in form.
Most popular varieties of hosta
Here are some of the top and most popular varieties of hosta, covering a range of sizes, colors, and garden uses
Miniature & Small Hostas
These are perfect for borders, containers, or rock gardens.
- ‘Blue Mouse Ears’ – Compact, round blue-green leaves; very cute and tidy.
- ‘Tiny Tears’ – Very small, shiny green leaves; great ground cover.
- ‘Pandora’s Box’ – Creamy white leaves with green edges; striking color contrast.
Medium-Sized Hostas
Good for mixed beds and moderate shade gardens.
4. ‘Patriot’ – Dark green leaves with crisp white edges; highly popular.
5. ‘June’ – Gold-centered leaves with blue-green margins; excellent color variation.
6. ‘Golden Tiara’ – Lime-green leaves with yellow margins; very hardy.
7. ‘Francee’ – Classic green leaves with white edges; easy to grow and reliable.
Large & Giant Hostas
These create dramatic statements in shade gardens.
8. ‘Sum and Substance’ – Huge chartreuse-gold leaves; sun-tolerant and impressive.
9. ‘Empress Wu’ – One of the largest hostas; can reach over 4 feet tall and wide.
10. ‘Blue Angel’ – Large, powdery blue leaves; elegant and stately.
11. ‘Sagae’ – Blue-green leaves with creamy yellow edges; very showy and award-winning.
Unique & Variegated Hostas
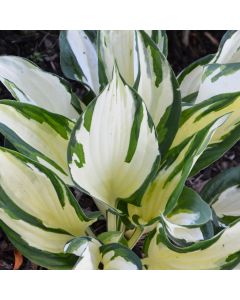
- ‘Fire and Ice’ – White-centered leaves with dark green edges; dramatic contrast.
- ‘First Frost’ – Blue leaves with creamy yellow margins that change through the season.
- ‘Rainbow’s End’ – Glossy dark green leaves with golden streaks; bold texture.
Ideal Growing Conditions
Hostas thrive best in cool, shaded, and consistently moist environments, making them perfect for the quieter corners of a yard. Here are the key growing conditions they prefer:
- Light:
- Most hostas prefer partial to full shade, especially those with blue or dark green leaves (too much sun fades the color).
- Variegated or gold-leaved varieties can handle more morning sun, but they should be protected from intense afternoon heat, which can scorch their leaves.
- Soil:
- They grow best in rich, well-draining soil high in organic matter.
- A slightly acidic to neutral pH (6.0–7.5) is ideal.
- Mixing in compost or leaf mold helps keep the soil moist and fertile.
- Water:
- Hostas love consistent moisture—about 1 inch of water per week.
- Mulching around the plants helps retain soil moisture and keeps roots cool.
- Temperature and Climate:
- Hostas are hardy perennials (typically USDA zones 3–9), tolerating cold winters by dying back and re-emerging in spring.
- In very hot climates, they need extra shade and watering.
- Spacing and Air Circulation:
- Give each plant enough room to expand—sizes vary by type, but spacing them 1–4 feet apart prevents crowding and reduces disease risk.
- Maintenance:
- Remove dead leaves in the fall to prevent pests.
- Divide clumps every 3–5 years to rejuvenate growth.
- Watch for slugs and deer, which are their most common pests.
Fertilizer
Hostas do benefit from fertilizing, but they don’t need a lot of it. The goal is to encourage steady, healthy growth and lush foliage without overfeeding. Here’s how to do it right.
- Timing:
- Early spring: Fertilize just as the shoots start to emerge.
- Mid-summer (optional): A light second feeding can help maintain vigor, but stop fertilizing by late summer so the plants can harden off before winter.
- Type of Fertilizer:
- Use a balanced, slow-release fertilizer (like 10-10-10 or 14-14-14) sprinkled around the base of the plants.
- Alternatively, use a water-soluble fertilizer every 4–6 weeks during the growing season.
- If your soil is rich with compost or organic matter, you may only need a light feeding each year.
- Organic Options:
- Compost, aged manure, or fish emulsion are excellent natural fertilizers that also improve soil structure and moisture retention.
- Application Tips:
- Avoid getting fertilizer directly on the leaves—it can cause burn.
- Water thoroughly after applying to help nutrients soak in
When and How to Divide hosta
To keep hostas healthy and growing you do need to reduce overcrowding. Dividing them is a great way to keep them healthy, control their size, and create new plants for other parts of your yard. Here’s when and how to do it properly:
When to Divide Hostas
- Best time:
- Early spring—just as the shoots (called “pips”) start poking through the soil but before the leaves unfurl.
- Early fall—about 4–6 weeks before the first frost, giving the roots time to reestablish.
- Avoid midsummer: The heat and dryness can stress the plants.
How to Divide Hostas
- Prepare the area:
Water the plant well the day before. This makes digging and separating easier and less stressful for the roots. - Dig up the clump:
Use a spade or garden fork to dig in a wide circle around the plant (about 6–10 inches from the crown). Gently lift the whole clump from the ground. - Separate the crowns:
- Shake or wash off excess soil to see the root system clearly.
- Use a sharp knife, garden spade, or your hands to divide the clump into sections—each division should have at least 2–3 shoots and a healthy root system.
- Replant immediately:
- Replant divisions at the same soil depth as before.
- Water thoroughly after planting and keep the soil consistently moist for a few weeks.
- Mulch around them to help retain moisture.
Tips
- Older, crowded clumps benefit from dividing every 3–5 years to maintain vigor.
- You can divide smaller hostas into more pieces than large ones, but avoid splitting too small—they’ll take longer to recover.
- If your goal is propagation, spring divisions establish faster than fall ones.
Winter Care
Hostas are hardy perennials, but they do need a bit of winter preparation to stay healthy and bounce back strong in spring. :
1. Let Frost Kill the Leaves Naturally
- When frost arrives, hosta leaves will yellow, then collapse.
- Don’t cut them too early — let the plant draw nutrients back into the roots.
- Once the leaves are fully mushy and brown, you can cut them down to about 2 inches above soil.
2. Clean Up Around the Plant
- Rake up dead hosta leaves and debris to prevent mold, rot, and slug eggs from overwintering.
- Clear the area but be gentle — don’t dig or disturb roots.
3. Add a Layer of Mulch
- After the ground starts to freeze (late fall), apply 2–4 inches of mulch (e.g., shredded leaves, straw, pine needles, or compost).
- Keep mulch a few inches away from the crown to prevent rot.
4. Water Before the Ground Freezes
- Give a deep watering before the first hard freeze — this helps hostas store moisture for dormancy.
- After the soil freezes, stop watering; frozen roots can’t take it up anyway.
5. Protect Container-Grown Hostas
If your hostas are in pots:
- Move them into an unheated garage, shed, or cold frame where temps stay between 30–45°F (–1 to 7°C).
- Water lightly once a month to prevent root desiccation.
- Alternatively, sink the pot into the ground and mulch heavily over it.
6. Don’t Fertilize in Fall
- Stop fertilizing by mid to late summer.
- Fertilizer late in the year encourages soft new growth that will just freeze.
7. Spring Revival
- In early spring, remove mulch gradually as the soil warms.
- Check for crowns starting to emerge — they’re usually among the first signs of life!
- Divide or transplant if needed before leaves unfurl.
Quick Checklist for Winter Hosta Care
| Task | Timing | Purpose |
|---|---|---|
| Cut back dead leaves | After frost | Reduce disease/pests |
| Clean debris | Late fall | Prevent mold/slugs |
| Apply mulch | After ground freezes | Insulate roots |
| Deep water | Before freeze | Moisture reserve |
| Move pots indoors | Before hard freeze | Prevent root kill |
| Remove mulch | Early spring | Let growth emerge |
Comments are closed